Non Perishable Foods to Add To Your 72-Hour Emergency Food Kit
This post may contain affiliate links, full disclosure here.
I was puzzled when I sat down to put together our 72-hour kits recently! I couldn’t think of anything else besides a few articles of clothing, some water, food, and soap. What is a 72-hour kit, exactly? What is included in a 72-hour kit? What else could we possibly require? I started to work thinking about what we bring for vacation and camping, and what we don’t pack for those. I’ve put together short and basic lists for EVERY member of your family that are easy to follow and put together quickly. This is especially true when you don’t want to go to your destination or need the kit only to discover that you don’t have everything you need or that you forgot to bring infant formula.
See also: Top 20 Barter Items to Stockpile
What Is A 72 Hour Kit And Why Do I Need One?
You may have heard them referred to as a bug out bag or a go-bag. Whatever you want to call them, the concept is the same. A 72-hour kit is an emergency supply kit that includes adequate food, water, clothing, and other life necessities for one person for 72 hours (3 days). This is an emergency preparedness kit for a short period of time. It’s designed to keep you going until help arrives or until you can get to a location with greater amenities.
What’s the point of a 72-hour kit? In the event of an emergency requiring you to leave swiftly and unexpectedly! You never know when an emergency will arise that necessitates you to leave swiftly and without much, if any, notice.
I grew up near a province where wildfires were regular in the summer and for them, evacuations were super common. In this instance, you’d want to get away as soon as possible. Take what you can and get out. You should concentrate on the vital items, such as photographs and anything else that has sentimental worth and cannot be replaced. With a 72-hour kit, you’ll have plenty of time to get those items, as well as your 72-hour kit, and get out. If you live near the shore and hurricanes are a regular occurrence, you can pack your backpack or tote with precious objects and be among the first to evacuate. You can avoid becoming stranded in the middle of a storm by beating the traffic.
What Should I Use to Pack a 72 Hour Kit In?
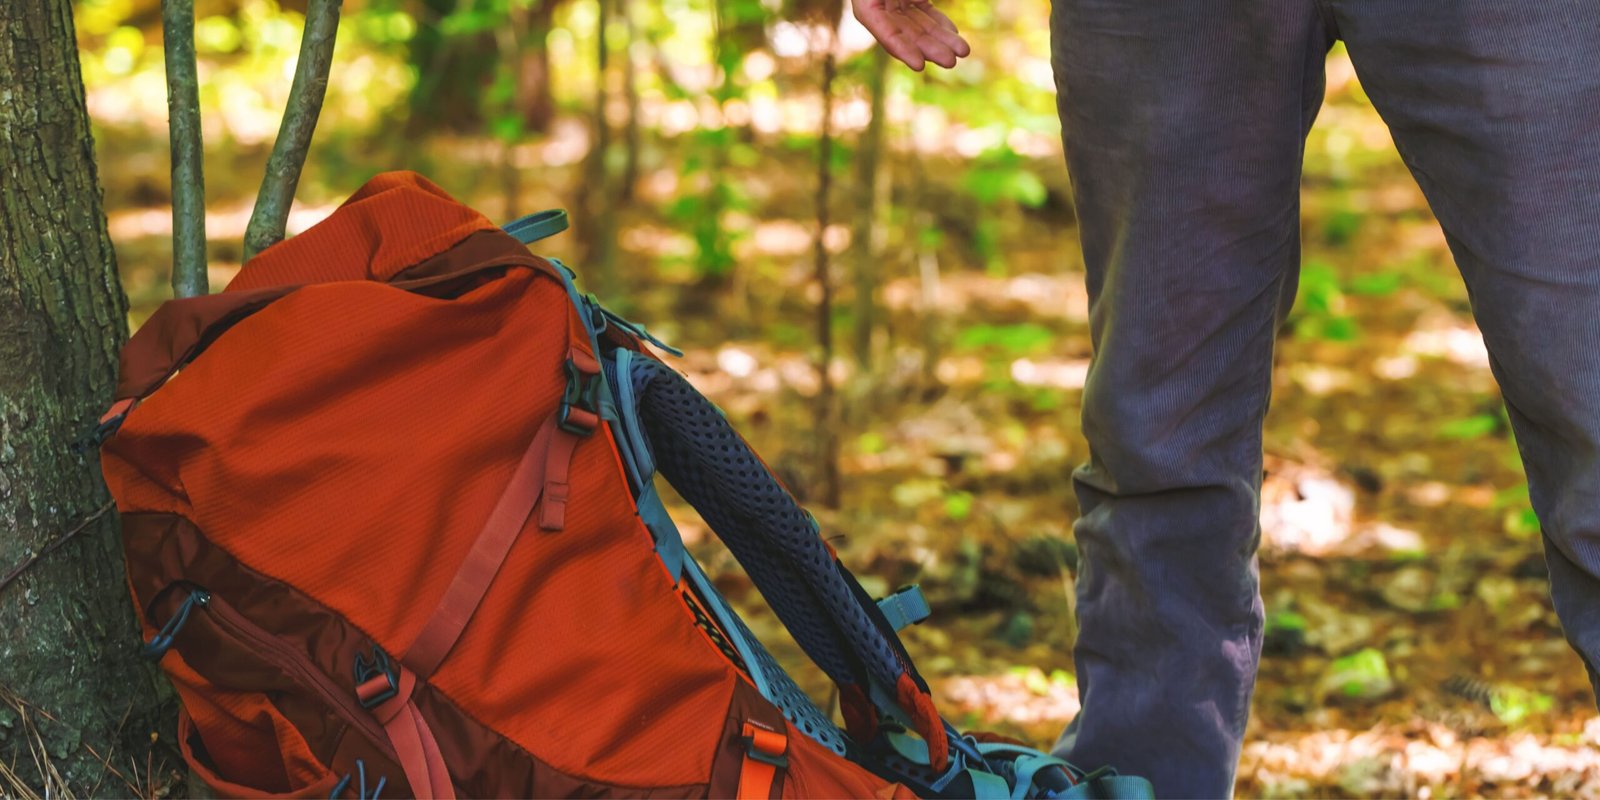
You can pack your 72-hour kits in a variety of ways. Backpacks and totes are the two we’ve discovered that make the most sense. We utilize backpacks for each person plus a tote for the extras at our house. They are lightweight and easy to transport if necessary. Each child is capable of carrying their own bag. Everything is more compact when carried in a backpack. A tote can also be used. Stackable and waterproof. Although a tote isn’t as easy to carry on the go for each person, it can have more space depending on the size. Everything is more easily accessible in a tote.
Using outdated backpacks from the previous school year is an excellent option for your children. Alternatively, look for used backpacks. You’re good to go as long as the zippers still work. There’s no need to spend a fortune on these bags. The kids are familiar with all of the pockets on their old backpacks, and it’s a bag you know they’ll be able to handle. Despite the fact that it is a tad on the heavier side. Last year, they did it every day!
You must make a decision. If carrying your 72-hour kits into a car isn’t an option, make sure they’re ready to be carried on your back. Alternatively, if you believe that packing them in totes and loading them into the car will suffice. Remember that younger children will require lighter packs or may not be able to carry a bag on their backs at all, so you’ll need to absorb what would be in their bags into yours or the extras bag or container.
Where Should I Store My 72 Hour Kit?
The location of your 72-hour kits is determined by the amount of space available. Your 72-hour kits should be kept cool and dry at all times. If you have access to a garage, you can combine all of your bags into a tote to keep them dry and bug-free. Make sure the box is well-labeled and easily accessible to all members of your family. This isn’t something you want to be searching for when the time comes to use them.
It’s also a good idea to keep them in your closets. They’ll be kept dry and bug-free. This also makes it simple to remember to check through them each year to ensure that everything is still in working order and that nothing has expired. If you see them every time you get dressed or grab your shoes, out of sight, out of mind won’t work.
It would also work in your coat closet. You’ll be able to keep everything in one place, and your coats will be close by if the weather turns cold. There’ll be one less area where you’ll have to go gather your belongings.
You’ll find it under your bed. It’s tucked away and doesn’t take up much room. It can also assist prevent items from disappearing only to be discovered later under the bed. Is it possible that I’m the only one who has this issue?
What Kind of Food Should I Pack In My 72 Hour Kit?
Next, I was stumped as to what kind of food I should include in our survival packs. You should seek for food that has a long shelf life. This means I can’t just make a bunch of peanut butter sandwiches ahead of time and store them for years! Gag!! Imagine opening up the bag a year later to discover what has grown on that sandwich. Because my children are still small, I have to be cautious about what I pack for them.
They’re picky eaters who won’t eat just anything. Canned foods are an excellent option. They have a long shelf life and can be heated in the can, so they require fewer ingredients. Soups from cans are fantastic. Spaghetti-Os are also a good option, particularly for children. These may also be eaten cold, as much as it hurts me to say so now. But, hey, if you’re hungry, it’ll fill you up. Top Roman has a good shelf life as well. To guarantee that you have enough water to drink and cook, you will need to add extra water to the water that you are carrying.
Protein can also be found in a jar of peanut butter or beef jerky. You can eat them simply or with something if you have that choice packed. Whatever you choose to bring, make sure you have the means to cook it if necessary. Pots and pans, as well as a propane stove and a couple tiny propane bottles. Don’t forget to bring your can opener! But, seriously! A can opener is a must-have item!
There are also dehydrated meals available. They’re all packed and ready to depart. All you have to do now is add boiling water. If you choose this path, you will need to modify the amount of water you bring. To heat the water, you’ll need a saucepan and a propane stove. Make a night of it by purchasing 5 or 6 different ones and allowing everyone to sample them. Make sure the meals you’re packing are ones you’ll eat. Especially the youngsters! This product has a very long shelf life! For the next 20-30 years, you won’t have to worry about these going bad!
Keep in mind that you should go through your food at least once a year. It would be much great if you could do it twice. You’ll want to double-check that nothing has expired and that everyone’s clothes still fit. Things in your 72-hour kits are already tough enough if you need to use them. You don’t want to be ill and throwing up and not have anything to wear!
Snacks are a terrific complement to any party. Protein bars, breakfast bars, and granola bars are all good options. Trail Mix, Peanuts To avoid excessive thirst, stay away from anything excessively salty. You can only carry as much water as you can. Unless you have access to a water filter and water. Alternatively, access to fresh water.
Looking For A Premade 72 Hour Kit?

Emergency Food Kit for 72 Hours — To prepare this dish, all you need is water. It’s available in packed servings or in bulk. It’s ideal for storms, power outages, natural disasters, and a variety of other situations. When stores are unavailable, having this emergency 72-hour food supply will be life-saving. Make sure you have one of these emergency buckets on hand. For on-the-go meals, store in an RV or bug-out vehicle.
Try Wise Company’s 72 Hour Emergency Kit, Food Supply, Water Filtration, and Fire Starter for convenience and peace of mind (Check the price on Amazon). We like the Wise Company’s freeze-dried meals and highly suggest their 72-hour emergency food box.
What should be In A 72 Hour Kit?
The following 72-hour kit checklists have been simply broken down by age and gender and may be readily altered to your individual and family needs.
Nonperishable Food Items:
- Peanut Butter
- Beef Jerky
- Canned Soups
- Spaghetti-O’s/Ravioli
- Canned Fish
- Canned Meat
- Canned Fruit
- Canned Vegetables
- Pasta
- Spaghetti Sauce
- Freeze Dried Meals (Mountain House is a common easy to find brand)
- Dehydrated fruits/veggies
- Applesauce
- Vienna Sausages
- SPAM
- Protein Bars
- Granola/Cereal Bars
- Trail Mix
- Packaged Nuts
- Oatmeal Packets (Store carefully to avoid weevil)
- Fruit Leather
- Dry Cereal/Granola
- Pureed Baby Food *Jars
- Infant Cereal
- Powdered Milk
- Concentrated Juice Boxes
*Nonperishable food has a lengthy shelf life but must be used before it expires. Remember to double-check that these things aren’t expired or stale.
Individual 72 Hour Kit Checklists For The Whole Family
Dad (Adult Man)
- Backpack
- Pants
- Shirt X2
- Socks X2
- Underwear X2
- Sweatshirt/Jacket/Coat
- Hat
- Gloves
- Deodorant
- Toothbrush
- Toothpaste (one tube to share with the family)
- Blanket
- Pocket Knife
- Flashlight/Headlamp
- Small First Aid Kit (Family medications needed)
- Food (5-6 Canned/Nonperishable items Plus Others)
- Water (64-88oz. per day)
- Snacks
- Money (Cash in small bills)
- Driver’s License
- Social Security Card
Mom (Adult Woman)
- Backpack
- Pants
- Shirt X2
- Socks X2
- Underwear X2
- Sweatshirt/Jacket/Coat
- Hat
- Gloves
- Deodorant
- Feminine Products
- Toothbrush
- Blanket
- Pocket Knife
- Flashlight/Headlamp
- Small First Aid Kit (Family medications needed)
- Food (5-6 Canned/Nonperishable Items Plus Others)
- Water (64-88oz. per day)
- Snacks
- Money (Cash in small bills)
- Driver’s License
- Social Security Card (For Each Family Member)
- Marriage License
- Birth Certificates (For Each Family Member)
- Immunization Records (For Each Family Member)
Teen Boy (Age 11-18)
- Backpack
- Pants
- Shirt X2
- Socks X2
- Underwear X2
- Sweatshirt/Jacket/Coat
- Hat
- Gloves
- Deodorant
- Toothbrush
- Shoes
- Blanket
- Pocket Knife
- Flashlight/Headlamp
- Food (4-5 Canned/Nonperishable Items Plus Others)
- Water (56-64oz. per day)
- Snacks
- Driver’s License
- Teen Girl (Age 11-18)
- Backpack
- Pants
- Shirt X2
- Socks X2
- Underwear X2
- Sweatshirt/Jacket/Coat
- Hat
- Gloves
- Feminine Products
- Deodorant
- Toothbrush
- Shoes
- Blanket
- Pocket Knife
- Flashlight/Headlamp
- Food (4-5 Canned/Nonperishable Items Plus others)
- Water (56-64oz. per day)
- Snacks
- Driver’s Licence
Young Boy (Age 4-10)
*Check that he will be able to carry his bag. Adjust canned items and water if needed.
- Backpack
- Pants
- Shirt X2
- Socks X2
- Underwear X2
- Sweatshirt
- Hat
- Gloves
- Shoes
- Toothbrush
- Blanket
- Flashlight/Headlamp
- Food (2-3 Canned/Nonperishable Items)
- Water (40oz. per day)
- Snacks
Young Girl (Age 4-10)
*Check that she will be able to carry her bag. Adjust canned items and water if needed.
- Backpack
- Pants
- Shirt X2
- Socks X2
- Underwear X2
- Sweatshirt
- Hat
- Gloves
- Shoes
- Toothbrush
- Blanket
- Flashlight/Headlamp
- Food (2-3 Canned/Nonperishable items)
- Water (40oz. per day)
- Snacks
Baby (Age 0-3) *Adjust Accordingly
*Rotation will occur more often than once a year.
- Backpack
- Outfits X3
- Socks
- Outerwear/Thick Extra Layers (for cold weather)
- Diapers (At least one package)
- Package of Wipes
- Binkie
- Blanket X2
- Swaddle/Sleep Sack
- Baby Food
- Formula
- Bottles X2
- Spoon for pureed foods
- Water Bottles (Enough for 3 days’ worth of feedings)
- Pets
- Backpack
- Food/Water Bowl
- Water (for 3 days)
- Food (for 3 days)
- Treats
- Leash
- Blanket to sleep on
- Toy
Extra Items For The 72 Hour Kit Checklist
*Items too heavy for the kids to handle can put here if they don’t fit in the parent’s bags.
*Keep in mind that these are survival kits, not full-fledged dinners. To make transit easier, make your bags as light as possible.
These are goods that may not fit in your luggage, but they’d be useful to have on hand in a separate tote or bag. Even better if you can fit them in your baggage. An extra shirt or pair of pants could be left out in the adult bags to suit an extra bottle of propane or water. If your older children are physically capable, see if they can carry one additional item.
- First Aid Kit
- Extra Food
- Waterproof Lighter/Matches
- Flint and steel
- Gas Stove
- Propane
- Garbage Bags
- Toilet Paper
- Plates/Bowls
- Utensils
- Extra Soap
- Wipes
- Water Purifier
- Batteries
- Sunscreen
- Bug Spray
- Hand/Foot/Body Warmers
- Shelter/Tent
- Ax
- Shovel
- Duct Tape
- Walkie Talkies
- Extra Blankets/Bedding
- Contact Solution/Glasses
- Deck of Cards (for entertainment)
- Hard Drive with backups of all your pictures and important documents
Bottom Line 72 Hour Emergency Checklist
I hope this makes putting together your 72-hour kits a little easier. My goal was to make putting these kits together as simple as possible for people of all ages. Of course, each bag will be tailored to the demands of the person, but this is a good starting point. Anything can be added or subtracted as needed. I’ve included printable versions of each list with additional opportunities for personalization if desired. I wanted to build this so that the smaller children could start packing on their own and the teenagers could pack without fear. It’s never a bad idea to be prepared!